Hand-raising finch chicks demands patience, consistency, and a calm head, but it is one of the most rewarding things I’ve ever done in bird care. Every time I take on this task, I remind myself that these tiny birds rely entirely on my timing, warmth, and judgment. Their parents naturally do this job better than any human ever could, but situations arise where I have to step in—whether the parents abandon the nest, aren’t feeding, or a chick needs medical intervention. Once I decide that hand-raising is necessary, I commit fully because even a short lapse in care can set the chicks back quickly.
The first thing I focus on is assessing the chicks’ condition. I look at how full their crops are, how responsive they seem, their skin tone, and their body temperature. Finch chicks cool down rapidly, so their warmth becomes my immediate priority. I prepare a soft-lined brooder container, either a small plastic tub or a proper brooder, making sure it stays at the right temperature and humidity. Without stable warmth, they can’t digest food properly, and I’ve learned that even if I feed them perfectly, it won’t matter if they’re chilled. Once I confirm they’re comfortable, I start preparing the feeding setup because feeding intervals need strict timing from the beginning.
Setting Up the Brooder at the Right Temperature
Getting the brooder right is one of the most crucial steps because temperature swings can weaken chicks fast. For the youngest finch chicks with no feathers, I keep the temperature around 36 to 37°C. I check it regularly since even small adjustments on a heat mat or lamp can change things more than expected. As the chicks get older and start growing pin feathers, I lower the temperature gradually, paying attention to how they behave. If they lie stretched out and panting, they’re probably too warm, but if they huddle tightly and shiver, the temperature is too low.
I also pay attention to humidity inside the brooder. Too dry and the chicks’ skin cracks and the membrane around developing feathers toughens; too moist and mold becomes a problem. A slightly damp paper towel tucked under part of the liner usually balances things well. I line the brooder with soft materials that won’t catch their tiny claws. Tissues, paper towels, or soft fleece work well, and I replace them frequently to keep everything clean. A clean brooder prevents infections, and I find that chicks grow faster and look healthier when their environment stays consistently dry and tidy.
Preparing Hand-Feeding Formula Safely
Once the brooder is stable, I turn my attention to food. Finch chicks need a very specific formula because their digestive system is delicate. I pick a commercial hand-feeding formula designed for small passerines and mix it fresh for every feeding session. The texture depends on their age. Newly hatched chicks need a thinner mixture so they can swallow safely without choking. As they grow, I thicken the formula gradually, adjusting until it matches what parent finches would naturally provide.
Temperature of the formula matters just as much as texture. Formula that’s too cold slows digestion and formula that’s too hot can burn the chick’s crop. I aim for warm, body-temperature consistency and check it with the back of my wrist before every feeding. The moment the formula cools down, I warm it again rather than continuing with lukewarm food. While it might sound like a small detail, I’ve found that maintaining consistent feeding temperature dramatically improves their growth and crop emptying speed.
Feeding Finch Chicks the Right Way
Feeding is the part that gets the most attention because it’s where most things can go wrong. Before I pick up a chick, I wash my hands thoroughly and set out everything I’ll need so I’m not scrambling once the feeding begins. I use a small syringe with a soft tip, and for the youngest chicks, I sometimes switch to a tiny spoon or a specialized narrow feeding tool if the syringe proves too forceful.
When I feed them, I watch the crop closely. I gently support the chick, letting its head tilt upward naturally without forcing its neck. Finch chicks usually gape as soon as they sense the warmth of the feeding tool, and I wait for that reflex rather than trying to pry the beak open. If a chick doesn’t gape, I take a moment, warm them slightly, and try again rather than rushing. Slow and steady feeding prevents aspiration, which can happen if food enters the airways. I deliver the formula into the side of the mouth, allowing the chick to swallow on its own rhythm. Once the crop begins to fill, I stop before it becomes overly stretched. A well-fed chick should have a rounded crop, not a tight balloon-like one.
Feeding frequency depends on age. Newly hatched chicks eat every 30 to 60 minutes from early morning until late night. As they grow, the time between feedings increases. I never skip nighttime feedings when they’re under a week old because their energy reserves are too limited. Once their eyes open and feathers start coming in, their digestion improves and they can handle longer intervals, but I still stay consistent.
Maintaining Cleanliness and Preventing Infections
Cleanliness is essential when hand-raising chicks because their immune systems aren’t strong enough to handle bacterial loads. I sterilize syringes and tools after each feeding session, not just once per day. Using warm water and soap is enough between feedings, but I do a deeper disinfecting at least once daily. Formula that sits for too long becomes a breeding ground for bacteria, so I prepare small batches and throw out leftovers immediately.
The brooder also needs attention multiple times per day. I remove droppings and wet areas from the liner and replace dirty sections with fresh ones. A dry environment keeps bacterial growth low and helps prevent conditions like crop infections and fungal issues. Finch chicks cannot fight off infections easily, so I consider cleanliness a major part of the whole process rather than something optional.
Monitoring Growth and Development
Tracking growth gives me a clear picture of whether the chicks are thriving. I weigh them daily at about the same time to get consistent readings. Weight gain doesn’t have to be huge each day, but it should trend upward steadily. If a chick stalls or loses weight, I adjust the feeding quantity or frequency and sometimes warm them slightly more to support digestion.
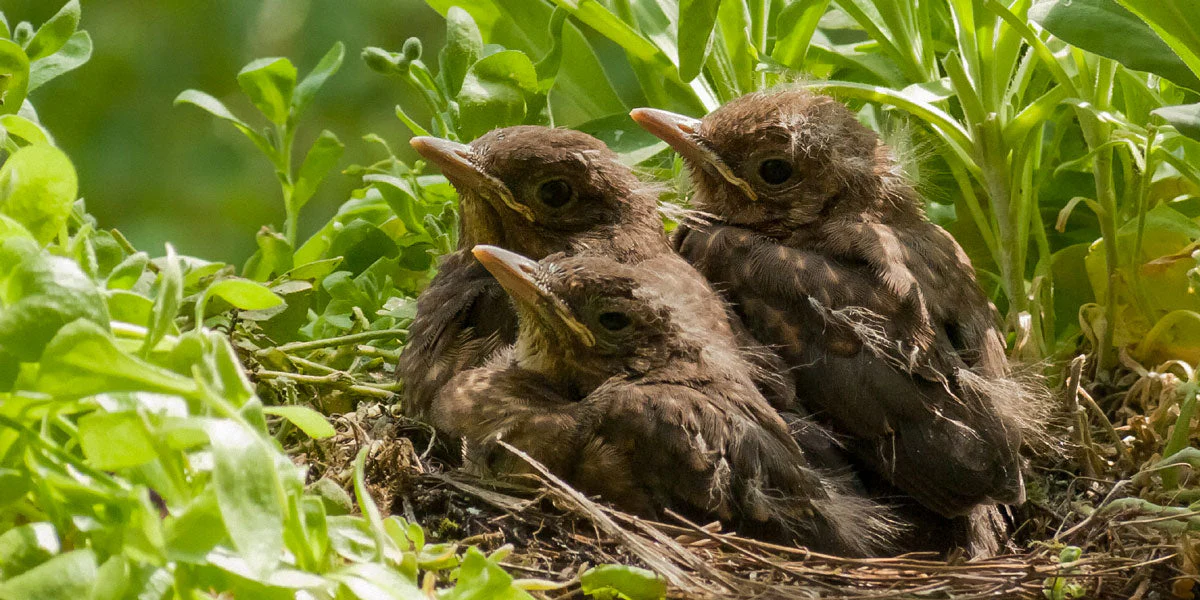
Their feather development tells me a lot as well. Healthy finch chicks start sprouting pin feathers on their wings and back within the first week. By the second week, those pins open, revealing their colors. I watch how they move in the brooder too. Active, stretching chicks with good posture and curiosity are usually developing well. Lethargy or drooping wings can signal trouble and prompt me to reassess their temperature, feeding, or health condition.
Transitioning to Solid Foods Gradually
Once the chicks start perching and testing their balance, I know it’s time to introduce early weaning foods. I place a small dish of moistened egg food or finely crushed pellets in the brooder. At first, they may ignore it entirely, but curiosity eventually wins. I still hand-feed them during this period, but I slowly decrease the amount so they start exploring solid foods more often.
Water access happens carefully. I never give deep dishes because chicks can fall in and chill themselves. Instead, I use a shallow container with marbles or pebbles so they can sip safely. By watching them interact with food and water, I adjust how quickly to reduce hand-feeding. Some chicks wean quickly and confidently, while others need extra days or even a week more of support. I always let their behavior guide me.
Encouraging Independence in Young Finches
As soon as they show signs of independence, I transfer them to a small cage with low perches. I make sure the perches aren’t too high to avoid injury if they fall while still learning to balance. I scatter some food across the floor of the cage in addition to using dishes so they discover it easily. Lighting also helps them navigate the space, so I keep the area bright during the day.
I interact with them gently to help them stay familiar with human presence, but I avoid excessive handling because they need time to develop their natural instincts. Daily check-ins help me confirm they’re eating enough, grooming themselves, and learning to fly. Their confidence builds quickly once they have the space to explore, and watching them progress from fragile chicks to active fledglings always feels like a small miracle.
Final Steps Before Joining the Adult Aviary
Before moving them into the main aviary, I make sure they’ve mastered eating on their own, flying comfortably, and maintaining their weight without hand-feeding. I transition them into a larger cage first to give them room to practice flying more actively. I also match the temperature gradually to what the adult birds experience so the shift isn’t a shock.
Socializing with other finches is the final part of the process. Young finches learn a lot by observing older birds, especially when it comes to grooming, flight patterns, and feeding behavior. I supervise their introduction closely to ensure no adult tries to bully them. Most of the time, the transition goes smoothly, and the young finches blend into the group naturally after a short adjustment period.
Conclusion
Hand-raising finch chicks is a demanding commitment, but it creates a bond and a level of understanding that stays with me long after the birds grow up. The process requires more than just feeding on time; it’s about maintaining perfect warmth, cleanliness, patience, and awareness. Every feeding session, every adjustment to the brooder, and every moment of monitoring contributes to their survival and growth. Watching them reach independence after starting life in such fragile condition makes every sleepless night and every careful step worthwhile.